There are two ways to reach the client page, this can be done by clicking on the Clients tab in the Navigation Banner or by Clicking More in the Client Section of the Homepage.
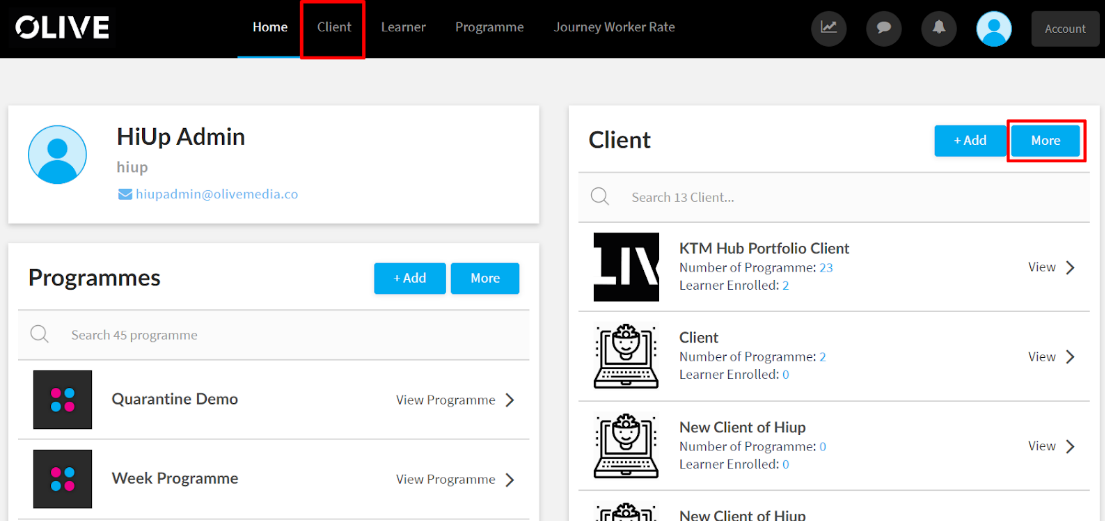
Below is an example of the client section,
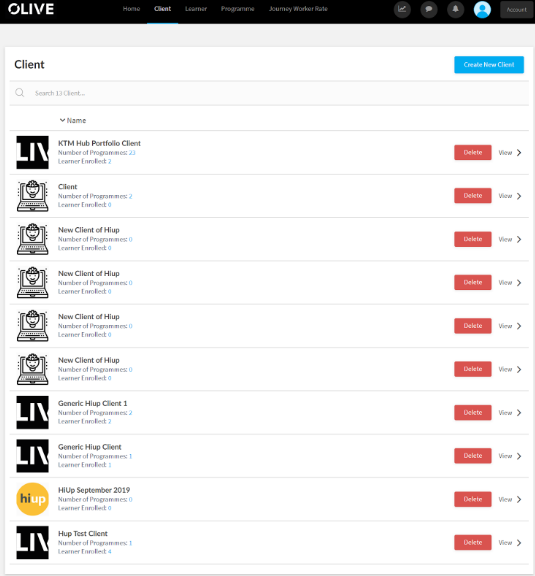
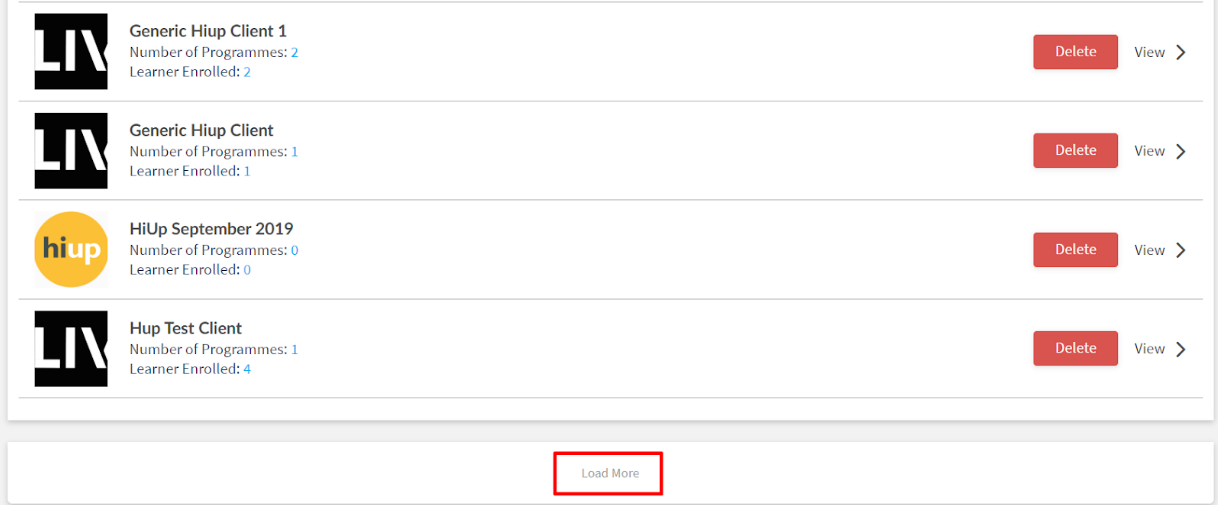
You can load more clients by clicking on the “Load More” button at the bottom of the page.
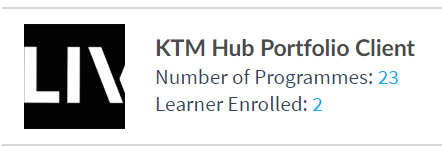
You can know about the number of programmes assigned to the client and the number of learners by looking at the details beside each client.
You can delete a particular client by clicking the “Delete” button beside the client.
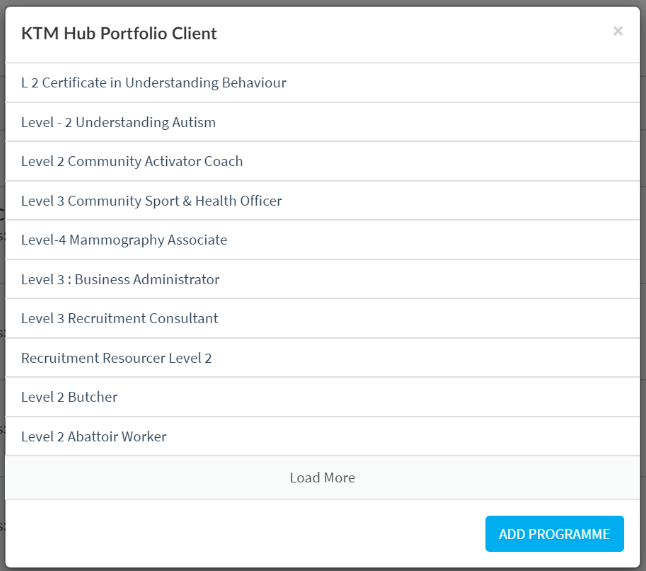
To view all the programmes that have been assigned to a client you can click on “View”. To view more assigned programmes you can click on “Load More”
Adding Programme to a Client
To Add a Programme to a client, you can select the Client from the Client Section and Click on View then click on Add Programme.
To view all the programmes that have been assigned to a client you can click on “View”. To view more assigned programmes you can click on “Load More”

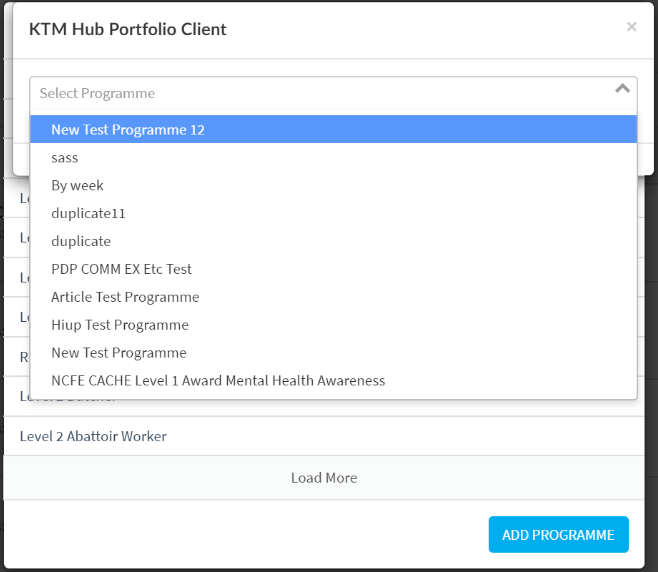
This will bring up the search list for all the programmes that have been published in the system.
Once you have found the programme you can click on “Add Programme” and this will add the programme to the particular client.
To Note: Programmes will show up here only if the programme has been published after it has been created.
Adding a New Client
As mentioned above you can click on the “+Add” button from the homepage or click on “Create New Client” in the Client Section to create a new client. This will bring up the Client creation page as shown below.
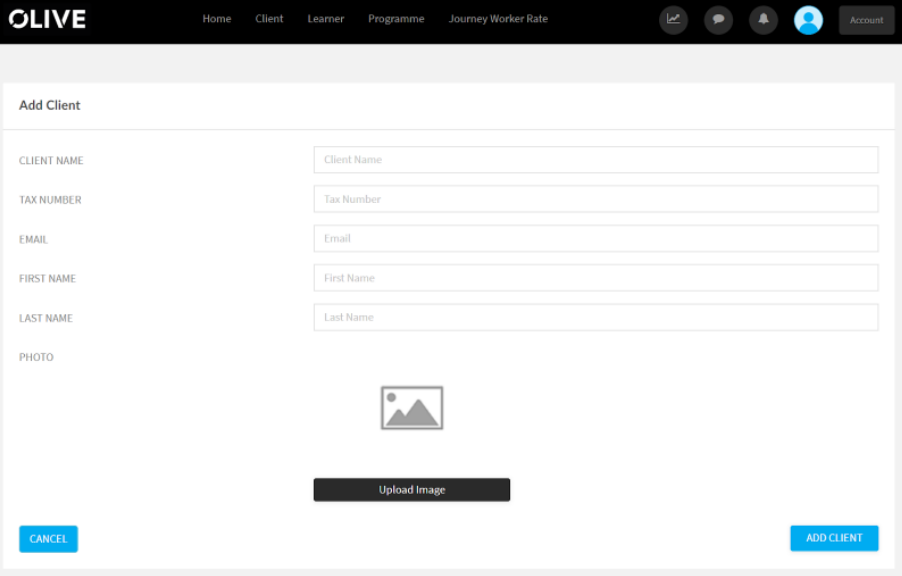
Here you can add the necessary information like the Client Name, Tax Number, Email address of the Admin of the Client Organisation, First Name of the Admin, Last Name of the Admin, and Photo.
Once the information has been added you can click on “Add Client” to add this Client and Client Administrator.
To Note: Once this process has been completed, a registration email will be sent to the new Client Admin to create his username and password and log into the system.